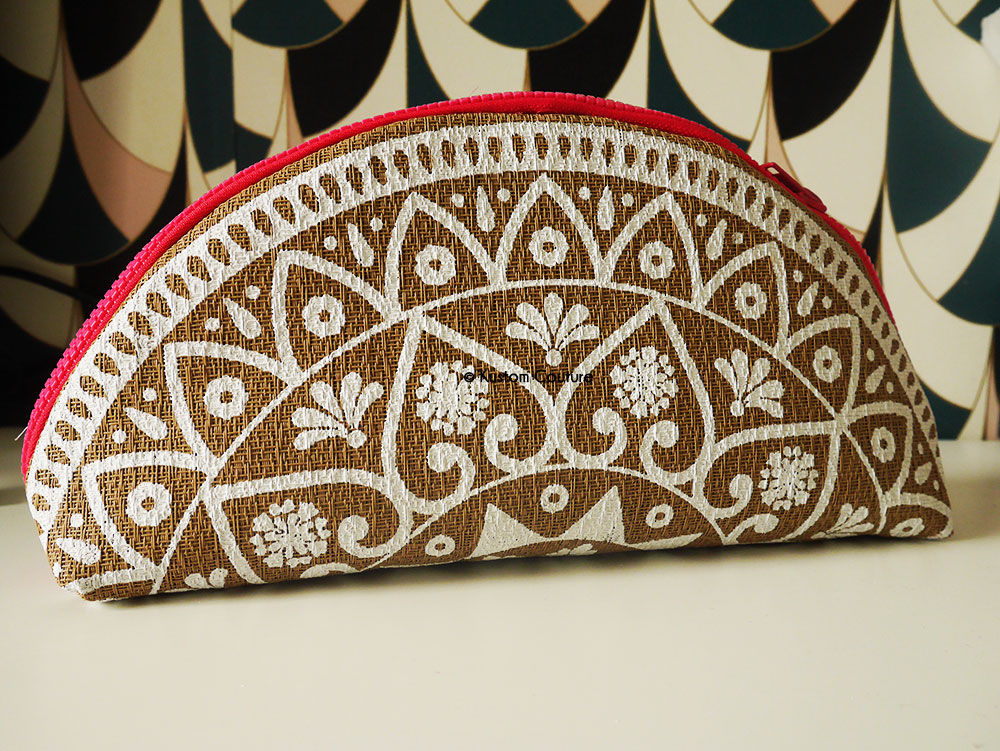
Looking for an easy and eco-friendly sewing project? In today’s post, I’m sharing a creative way to upcycle a placemat into a spacious and stylish DIY pouch. This sewing tutorial is perfect for confident sewists looking for a quick project using materials they already have at home.
I first saw this idea on Instagram, inspired by the talented @ledressingdecindy. I had saved it to my To-Make list on my Kustom Couture IG account, and finally decided to give it a go after finding a placemat at a local market for just two euros. It turned out to be a fun and practical way to reuse something simple and turn it into something useful!
Unlike the original version, I chose to add a fabric lining that matched my zipper — a small detail that really elevates the final result.

Materials Needed to Make a DIY Placemat Pouch:
-
1 placemat (any material that holds shape)
-
1 zipper – I used a 50 cm (20 inch) neon plastic open-end zipper from Mondial Tissus
-
1 piece of fabric (same size as the placemat) for the optional lining
-
Sewing scissors
-
Pins or sewing clips
-
Sewing machine


#1 Use the placemat as a pattern and cut your fabric lining to the same size. This will give your pouch a clean, finished look inside.
#2 Place the zipper right sides together with the edge of the placemat. Pin in place.


#3 Sew along the edge of the placemat and zipper with a 1 cm (⅜ inch) seam allowance. This will secure the zipper neatly.
#4 Place the fabric lining right sides together with the placemat (the zipper now sandwiched between them). Sew around the edge with a 1 cm seam allowance, leaving a small opening on one side. This opening will be used to turn the pouch right side out later. Don’t forget to backstitch at the beginning and end of the seam to secure the stitches.

 #5 Turn your pouch right side out, so the lining is now on the outside. Partially close the zipper. Pinch the corners into triangle shapes (“beaks”) at each end of the zipper and sew across them to create boxed corners. Trim excess fabric to reduce bulk.
#6 Sew the small opening in the lining closed with a straight stitch — either by hand or using your machine.


Now that your DIY zipper pouch is done, the only question is: How will you use it?
-
As a toiletry bag for your next trip?
-
A makeup pouch?
-
Or maybe a sewing kit bag?
The size makes it super versatile and the process is so quick, you might just end up making more than one!
I’d love to know how you plan to use yours — drop a comment below and share your ideas!
