Hello!
I propose you today a sewing tutorial around the relaxation at home:
how to sew a trendy kimono without a pattern?
The web is full of tutorials to create them and some of them are several years old. They inspired me to propose you my version. I sew this kimono to wear at home but you can of course go out with yours!

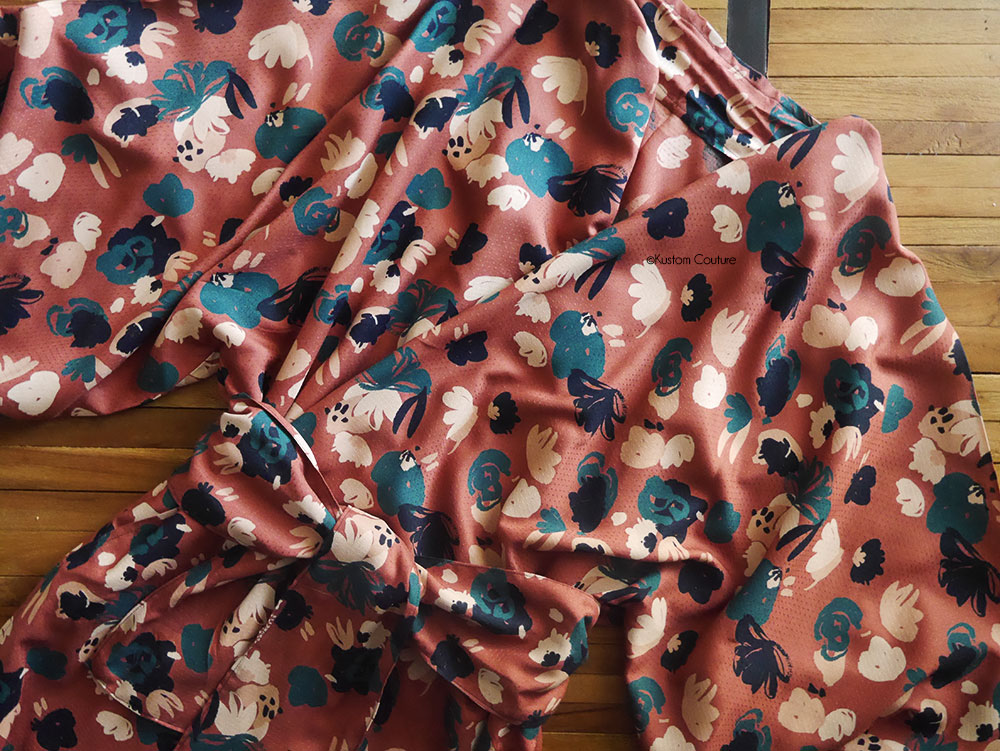
To sew this kimono, I chose a viscose from Mondial Tissus, a store available in France, it is a light fabric with a beautiful fall and the color of the fabric, you will see, is autumnal. For this type of realization, prefer a fluid fabric like viscose, jersey, cotton…
Here is the list of materials needed to sew a kimono without a pattern:
- the fabric of your choice. Here I chose a viscose fabric of 150cm x 120cm minimum, I wanted it to be long so I took a 150x155cm fabric so that the kimono would reach my knees (I am 1m70), if you want it longer or shorter, play with the height,
- matching thread,
- scissors,
- a sewing machine,
- pins,
- a ruler or tape measure,
- an iron.


#1 From the shoulder line, place a pin at 35 cm high and 25 cm wide.
To make the tutorial clearer, I suggest you follow the diagram available here.
Cutting the fabric
#2 From the shoulder line, place a pin at 35 cm high and 25 cm wide.
#3 Draw a line with chalk or place markers all along this line.
#4 At 25 cm from the edge, draw the line of the kimono sides.
#5 Cut the 4 layers according to the diagram.
#6 Pin together two layers of the sleeves and the two remaining layers of the sleeves.
#7 Pin two side layers together in the same way and then the other two layers together.
#8 For the front opening of the kimono, cut only the middle of the top layer of fabric at the fold.
#9 For the head opening, cut a length of 12 cm in each fold of fabric.


Sewing
The kimono is ready to be sewn! The sewing values are included in the cutting. Before that, serge all the edges because if you chose a viscose like me it will fray. If you don’t have a serger, use the zig-zag stitch on your sewing machine (like I did)

#10 Once the kimono serged, sew each sleeve at 1cm and the sides at 1.5cm. Don’t forget to use a stop stitch at the beginning and the end of the seam.
#11 Iron the seams.
#12 At the collar, I realized that an edging was necessary: to make it I cut a strip of fabric a little longer than the width of the opening: 62 cm wide and 8 cm high. I first hemmed it by 1 cm and then pinned (the unhemmed part) right sides together on the collar and the back. This makes for a nicer finish.
#13 Sew the bottom hem of the kimono to 2 cm then iron.
The belt of the kimono
#14 After trying on the kimono, I found that a belt would not be too much! Knowing that there was still fabric scraps, remember when we cut the sleeves and the side? To do this, measure your waistline and ideally add a minimum of 15 cm by 20 cm in width (so that the belt is wide enough). Sew right sides together for most of the waistband rectangle and leave a small opening to turn the waistband inside out. Edge the corners and iron. Turn the belt over and topstitch at the edge, this will look nice and allow you to close the opening left.


I just sewed a kimono without a pattern for the first time. And I’m pretty happy with it 🙂 I’m going to wear it while working at home.
How about you, tell me how the sewing of this kimono went and how do you plan to wear it? Feel free to comment below!
